Small Batch Homebrewing (and a Giveaway!)
“Whatever highly honorable motives they may have—to save money or to enjoy themselves, for example—the greatest motivation for homebrewers is the opportunity to experiment and to produce beer in all the glorious varieties in which it manifests itself.”
-Michael Jackson (this MJ , not the other) in the preface to The Joy of Homebrewing  by Charlie Papazian ( Amazon.ca and WPL )
Making beer from scratch in your own home is extremely satisfying but it can seem a bit difficult if you’ve never tried. And if you do know a little bit about the process that most people use it can seem downright intimidating.
That’s because many homebrewers brew five gallon batches (or larger) and use all sorts of specialized equipment. This includes pots and kettles that are 8 gallons or larger (the average “large†stockpot is around 2-3 gallons) and converted coolers with false bottoms or manifolds for straining grains. In addition to this are all the buckets, jugs, tubes, pumps, measuring devices, and other unique items that serve very specific purposes in the brewing process.
However, it is possible to brew your own beer—truly from scratch—with limited supplies and equipment. You just have to be willing to go a little bit smaller and then you can work with more common household items, like the pots and strainers your kitchen most likely already has.
 This is where Emma Christensen has had a huge impact on my perspective towards homebrewing. In her first book,
True Brews
(
Amazon.ca
and
WPL
), she taught how to make a wide variety of fermented beverages at home—kombucha, root beer, cider, mead, wine, beer, and more—and in most cases with very little specialized equipment.
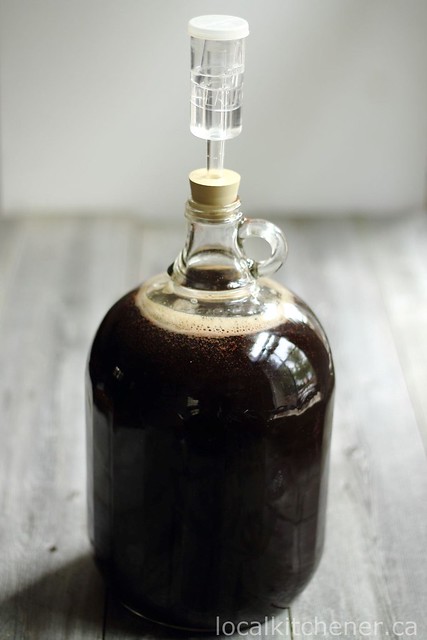
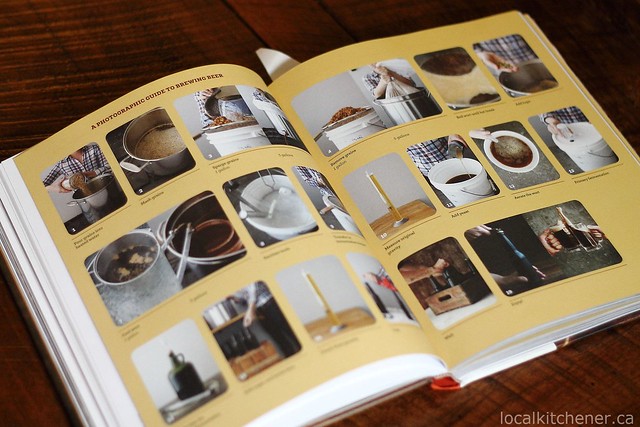
I truly hadn’t considered making one gallon batches up beer until I read that book. Although much of my brewing is still 5 gallon batches, the beauty of small batch brewing is that all aspects of the process are made more manageable by scaling down. And just what are those aspects? Here is an overview of brewing a small (1-2 gallons) batch of beer:
- Heat 1 gallon of “hot liquor†to 160 ◦ F (“hot liquor†is just what the hot water is called)
- Dough in (mix the hot liquor with the recipe’s crushed malts)
- Mash for 1 hour at 148-153 ◦ F (basically just maintain the mixture of malts and water at this temperature for 60 minutes to create “wort†which is the sweet malty liquid that will ferment into beer).
- Lauter and Sparge (lautering is the process of straining the wort from the grains and sparging is rinsing the grains with additional hot water).
- Boil (the boil is when hops are added and the wort is sterilized, clarified, and concentrated through evaporation. 60 minutes is the typical length for this step).
- Chill and pitch yeast (before the yeast can be added to the wort it must be brought down to room temperature. For a 1 gallon batch of beer this is usually done by setting the kettle in an ice bath in the sink and stirring with a sanitized spoon. Then the wort is transferred to a sanitized bucket or jug and yeast is added).
- Ferment (the yeast convert the wort into beer over the course of 2-3 weeks).
- Bottle (the finished beer is mixed with a small amount of extra sugar and then put in bottles where the additional fermentation creates carbonation. Then you drink the beer!).
Looking at that list of steps I can’t say that brewing beer is “simple.â€Â However, if you break it down and just approach the process one step at a time there shouldn’t be a part that is overly difficult.  And once again, this is where Emma Christensen comes in!
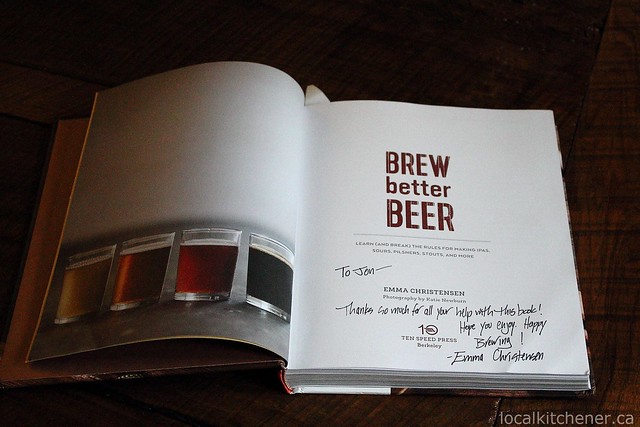
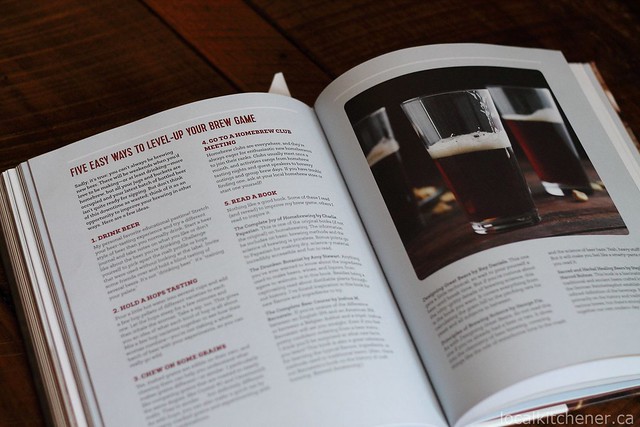
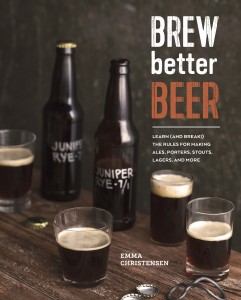
After tackling small batch brewing in True Brews with enough detail to get people started she revisited it in full form in a second book, Brew Better Beer ( Amazon.ca ). About a year and a half ago I had the opportunity to do recipe testing for a few recipes that would appear in the book (I got compensated for the ingredients and received a copy of the book once it was published). I brewed up a 5 gallon batch of her “Riding Lawnmower Pale Ale†and one gallon batches of the “Pecan Pie Brown Ale†and “Affogato Milk Stout.â€Â Of those three the milk stout was my favorite and I plan to brew up a large batch of it later this summer to enjoy in the fall as the weather turns cooler.
With the arrival of Emma’s new book I decided to try out the “Smoky Chipotle Porter†recipe. I’ve been intrigued by spicy beers for a while and had been waiting for a good opportunity to try brewing one. Emma’s step by step instructions are clear and easy to follow. If you have a copy of her book the intro chapters go into great detail about all the steps, but if you don’t have the book I highly recommend her beer school on The Kitch’n .
And speaking of Brewing Better Beer , the publishers are going to send a copy of the book to one reader of this blog (in the US or Canada). To enter just go to the form at the end of this post. But if you don’t win a copy be sure to ask your local library to order one—that’s what I do every time I don’t win a book!
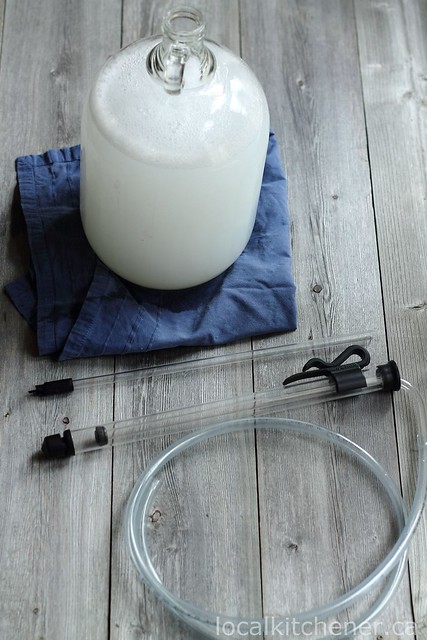
My plan is to follow up this post in a few weeks with a more in depth look at the equipment that I find essential for small batch homebrewing. I’ll also include a review of how the Smoky Chipotle Porter turned out!  (And just send me an email if you’d like some ingredients to brew your own small batch of this beer for $12!)
What follows is an excerpt from Brew Better Beer , courtesy of Ten Speed Press.Â
Credit: Reprinted with permission from Brew Better Beer , by Emma Christensen, copyright 2015. Published by Ten Speed Press, an imprint of Penguin Random House LLC.
Photography copyright © 2015 by Katie Newburn
Smoky Chipotle Porter
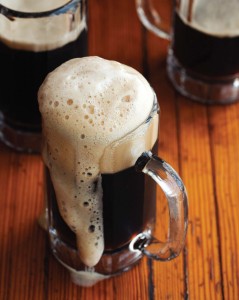 I admit it: the idea of a spicy beer is a little . . . strange. Even to me. But this smooth and smoky porter with its slight prickle of heat is worth a leap of faith. Chipotles are the smoked and dried version of jalapeños—a process that transforms the crunchy green peppers into wrinkled, deep-red husks while simultaneously tempering their quick burst of heat into something slow and smoldering. Just the thing for a moody beer like this one.
Brew Notes If you’d like the smoky flavor of chipotles without the heat, crack open the dried peppers and shake out the seeds before adding them to the beer.
Make It Yours Make a Mexican hot chocolate version! Add cinnamon sticks, cacao beans, and a split vanilla bean or two to the secondary. (Read more about adding spices on page 166.)
Beers to Try Pipeline Porter (Kona Brewing Company), Stone Smoked Porter (Stone Brewing Company), Alaskan Smoked Porter (Alaskan Brewing Company
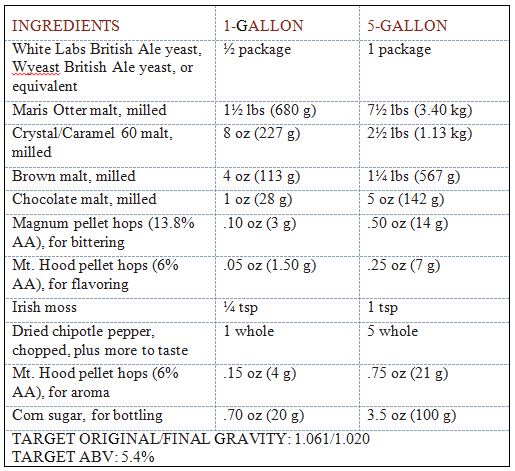
Follow the master method for brewing 1-gallon or 5-gallon all-grain batches as described on pages 54–59 (5-gallon measurements in parentheses).
- Remove liquid yeast from the refrigerator and, if necessary, activate according to package instructions. Place on the counter to warm.
- Heat 1 gallon (or 4 gallons) of water to 160°F, then stir in the grains. Maintain a mash temperature of 148°F to 153°F for 60 minutes. Raise the temperature of the mash to 170°F, then sparge using 1 gallon (or 2½ gallons) of 170°F water to make 1½ (or 5½) gallons wort.
- Bring to a boil over high heat. Add the Magnum hops and boil vigorously for 40 minutes. Add the Mt. Hood hops for flavoring and the Irish moss and continue boiling for another 15 minutes. Add the chipotle peppers and continue boiling for another 5 minutes. Add the Mt. Hood hops for aroma and remove from the heat. (Total boil time: 60 minutes.)
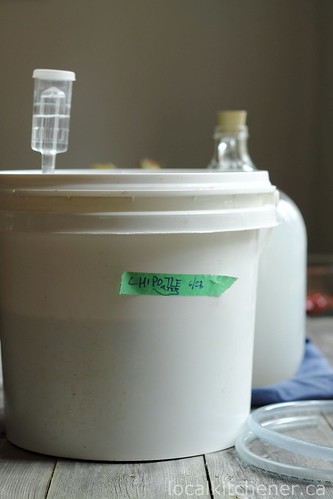
- Cool to at least 75°F and transfer to a sanitized primary fermentation bucket. Add the yeast and aerate the wort.
- Let ferment for at least 1 week or up to 4 weeks at 70°F; then transfer to a sanitized jug or carboy for secondary fermentation. Continue to ferment for another 2 weeks or up to 2 months at 70°F.
- Taste the beer a few days before you plan to bottle. If you’d like a stronger, hotter flavor, chop 1 chipotle pepper (or 5 peppers) and steep in just enough vodka to cover for 15 minutes, then drain and add the peppers to the beer. Taste daily and bottle when the beer tastes good to you.
- Dissolve the sugar in ¼ (or 1) cup of boiling water and let cool. Mix with the beer, bottle, and store for 2 weeks or up to a year. Refrigerate before drinking.

July 8, 2015 @ 11:04 am
We haven’t brewed anything in a long time, but would love to try an oatmeal stout.
July 8, 2015 @ 11:39 am
Those are always nice!
July 8, 2015 @ 11:08 am
I had thought brewing at home was ridiculously difficult.
This book looks awesome, I wonder if the KPL carries it? 🙂
July 8, 2015 @ 11:37 am
I don’t believe that either library has it, but WPL has her first book. It’s worth asking the library to order it, WPL has yet to deny any of my requests!
July 8, 2015 @ 11:09 am
Also, I’d like to try brewing a wheat beer!
July 8, 2015 @ 11:38 am
You should try our “HefeKWeizen” recipe 🙂
http://wp.me/p44Qm1-M7
July 8, 2015 @ 12:37 pm
Looks delicious! Can’t wait to try this one 🙂 Did you have to play around with the water chemistry for this one? Or just use tap water?
July 8, 2015 @ 12:46 pm
I just used tap water as I wanted to follow the recipe as it was in the book. We’ll see how it turns out and then maybe scale up to 5 gallons (or more…)!
July 8, 2015 @ 2:22 pm
I love the idea of small batch brewing for recipe refinement. I feel like I always forget what changes I wanted by the time I get around to repeating recipes…
July 8, 2015 @ 2:50 pm
Hey Carolyn, that’s a great point, I think I do the same thing often!
July 8, 2015 @ 6:08 pm
Never tried making beer at home but would love to. I only learnt this year how much I enjoy a GOOD beer after visiting a tap house in Arizona and being able to try a few kinds. Since then I’ve found German wheat beers are hand down my favourite!
July 8, 2015 @ 6:11 pm
Cool, hefeweizens are one of my all-time favorite styles of beer! I bottled one yesterday, maybe I’ll need to give you a bottle 🙂
October 1, 2015 @ 10:42 am
what do you use for your mash tun for the small batches?
October 9, 2015 @ 6:54 am
Hey Alex, sorry for the delay, I use a small cooler. It’s big enough for 1-3 gallon batches. I line it with a 5 gallon grain bag (or paint strainer bag) and then transfer that bag to my zappap (bucket in bucket) lauter tun.
April 9, 2018 @ 9:02 am
I know this is an older article, but I still found it relevant. I’ve been thinking about doing more small batch brewing, especially for things like IPAs where I want to tweak the dry hop additions without spending so much money on a whole bunch of 5 gallon batches. This way, I can take a 5 gallon batch, ferment it out, then do 5 separate dry hop additions in separate 1 gallon ‘secondaries’.
Seems like a faster, less expensive way to tweak your homebrew recipes.
Nice article, thanks.